Because I'm still wading through the aftermath of renovation and not anywhere near the end of the redecorating, I took the sensible route and nixed decorating for Christmas this year.
 I hung a very simple garland on either side of the newly painted porch doors and...
 a couple more on the sides of the studio door. Just enough to keep passers by from thinking Scrooge lives here. A little snow would enhance the seasonal mood of this display and that could happen by Christmas, but I couldn't orchestrate it for this post.
I do love to decorate for the holidays but this year it is just out of the question. I am getting myself in the mood for Christmas by doing one small tree and absolutely NOTHING else inside.
 I found this handmade metal tree at a yard sale this past summer.
 The little washers are welded onto the rods as are the little holders. The tree itself pulls out of the stand and folds flat for storage. Quite cute in a folk arty sort of way. It leans a little too...just like a real tree. And, yes, it bugs me so I'm trying to figure out a way to remedy that.
 I searched long and hard for candles to fit these holders, but to no avail. I'll show you later how I worked around that problem.
 I didn't really like the gold color so I primed it with a rust colored primer.
 I also bent several of the candle holders into an upright position and worked to get the whole tree reasonably symmetrical.
 Then I forged ahead without thinking about a color scheme. I started experimenting with decorations and never looked back. So the tree got decorated with only a primer coat. Oh well.
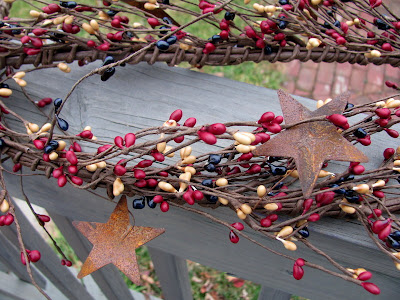 I found this garland at a shop called The Wooden Ladder in Fairview Heights, IL. I expecially liked the stars, and thought this might set the tone for this humble little tree.
 I looked many places for the right size candles. Finally in frustration I bought these cheapies at Deals.

 Holding them in the flame over the stove burner was the easiest way to accomplish this. Cleanup was quite simple. I just turned the flame up until the wax melted and then wiped it away with a paper towel.


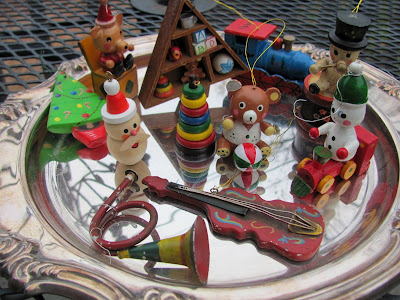 Here are a few I found at a resale shop. I have been hitting places like Goodwill Outlet and Antique Row as well as several antique malls with very little luck finding more. I am tying one ornament to each of the little washers so I need 16. As of this moment I have 13.
 This one had a little boy's name painted on the cab and 1991 on the roof of the cab. I got pretty close by mixing a couple paints I had on hand and was able to paint over the not-so-great looking letters/numbers.


Then I outlined the star topper with a row of twine on both the front and the back.
 I was lucky enough to find this strand of wooden beads at an antique mall.


 I needed fabric for a skirt and I was not coming up with anything I liked until I found this piece in my scrap pile.
 I added a couple wrapped packages and a few more ornaments under the tree.


That does it! It's my tree for 2012. You can check out my tree for 2011 here.
I am linking to: Tuesday's Treasures
Holiday Home
Wicked Awesome Wednesday
No Minimalist Here
Frugalicious Friday


I do love to decorate for the holidays but this year it is just out of the question. I am getting myself in the mood for Christmas by doing one small tree and absolutely NOTHING else inside.


I cut them into thirds and exposed the wick. I also melted the wax on the bottom of each candle section and rubbed it with a paper towel to get it to a size that would squeeze into the holder on the tree.


Once they were all in position, I wrapped each holder with a little strip of burlap and hot glued the ends together.

Next I glued a black button to each one. There are 16 candles on the entire tree and I was able to find 4 sets of matching buttons in my stash for each tier, so that worked out nicely. (not that anyone would really notice, but, well... you know)
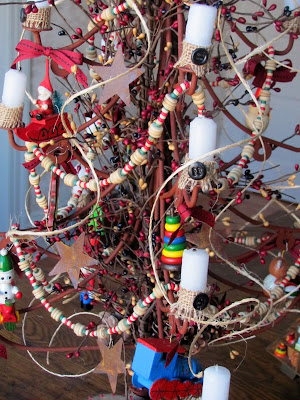
You can see I put the garland in place first. Sorry, no pics there. I cut the garland in half and ran it up two sides of the center pole. Then I just fluffed it out and hoped once the rest of the decorations were in place it would be enough.
So now for the ornaments.


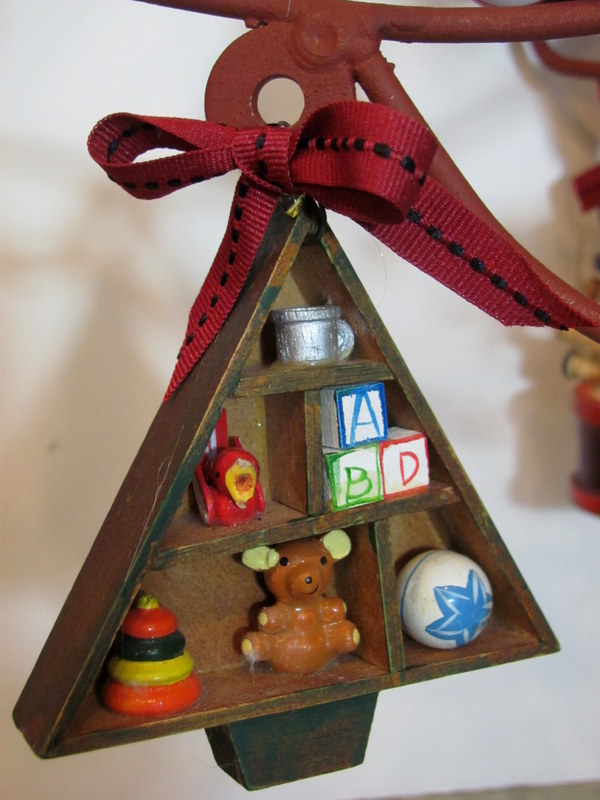
I added a green wash to this one because it looked a little dry and lifeless in the natural wood tone.

I tied a little bow over each ornament.
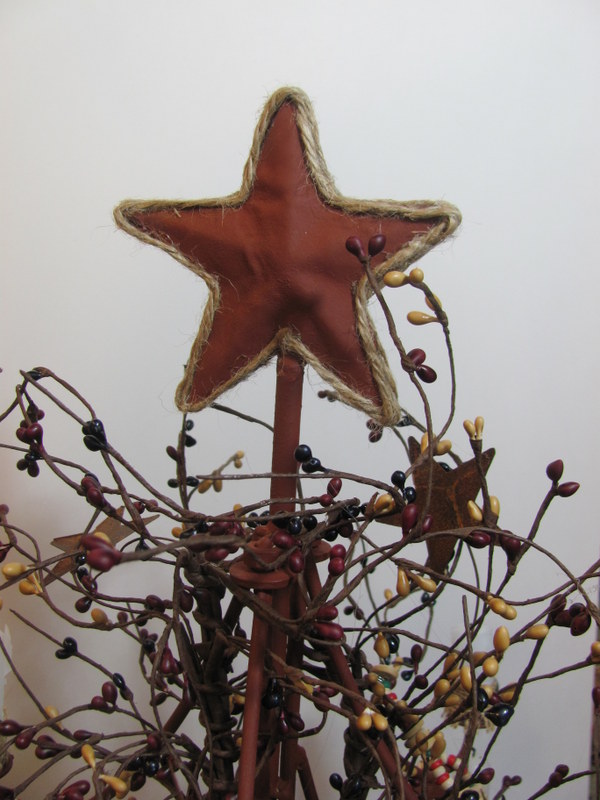
Then I outlined the star topper with a row of twine on both the front and the back.

It picks up the colors of the ornaments and connects them to each other.

It also connects the four sets of branches which is exactly what needed to happen. I'd say it was a well spent four and a half dollars.


Just when I thought I was finished, I noticed this twine on the counter.

Turns out it added a some movement and a lightness to the overall scheme of the tree.

I never really intended to burn the candles on this tree. A darkened wick was enough to give the illusion that they could be lit. However, I attemped to get them all lit at once without turning it into a charred disaster just for one picture.

It is a perfect table top tree with lots of little things to see.

In a couple years it might be just the thing for my grandsons to have in their playroom.
That does it! It's my tree for 2012. You can check out my tree for 2011 here.
I am linking to: Tuesday's Treasures
Holiday Home
Wicked Awesome Wednesday
No Minimalist Here
Frugalicious Friday
Very clever and very well doe. Love it.
ReplyDeleteThis comment has been removed by a blog administrator.
ReplyDelete