The recipe for a good baby shower is somewhat determined by the age and character of the group you plan to invite. But there is always the common thread of food and presents.
But when it comes to the decorations the ingredients can be quite varied.
This particular shower theme started with a couple little birdies tweeting on a computer. It was drawn by a very talented gal I'm lucky to have as a friend.

 Some cute paper plates from hobby lobby plus some colorful ribbon and a few sheets of decorative paper. Oh yes, and some bird templates.
 One rusty bed spring for every guest.
 Some branches with dryed leaves still attached.
 A spiral of grapevine twigs.
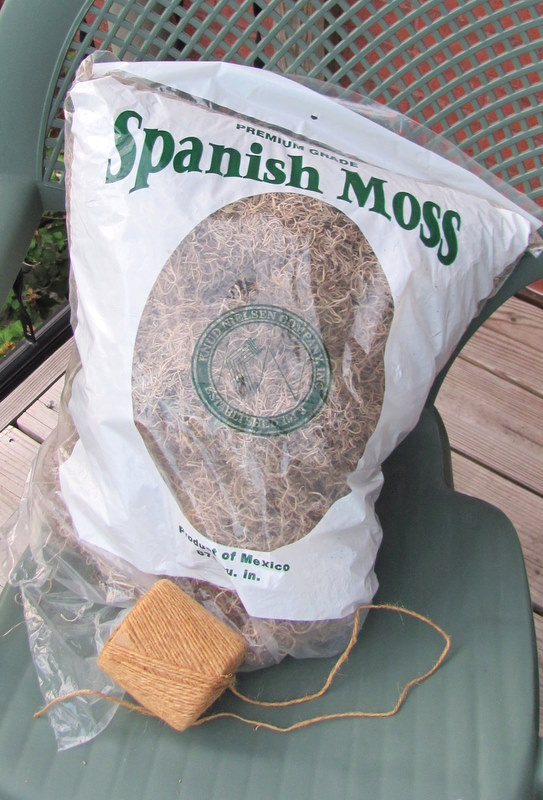
 Some twine and a bag of spanish moss.
Not pictured are an old music book, Jordan almonds in blue and a few little things we will toss in later.
So first we take the bed springs and make a little nest with the moss.


 I cut several birds from the decorative paper and hung them on tree branches that I had planted in plaster of paris. I used an olive jar to keep the plaster to a minimum. Then I stuck that inside a larger container and stuffed newspaper around it to center it. I added some moss around the opening and a band of decorative paper finished off the outside of this container.


But when it comes to the decorations the ingredients can be quite varied.
This particular shower theme started with a couple little birdies tweeting on a computer. It was drawn by a very talented gal I'm lucky to have as a friend.

We added a little verse about being all in a twitter trying to make room in the nest for Baby Rodriguez. We asked the guests to help feather the nest by joining us ....and followed with the pertinant info.
Then came the gathering of ingredients:


Not pictured are an old music book, Jordan almonds in blue and a few little things we will toss in later.
So first we take the bed springs and make a little nest with the moss.
A bird cut from the music paper catches in the moss and stands by itself. Toss in an almond and it is finished. You can see the burlap was used as the table cloth. Very simple. No hem needed. We are going for the outdoorsy look.

Next the napkins. I have a fold I like to use and would be happy to forward to anyone who might be interested.

The fold stays without the ribbon but I tied it loosely just for color. The twine slips through a hole in the peak of the musical tag.

These serve as place cards.

 I cut several birds from the decorative paper and hung them on tree branches that I had planted in plaster of paris. I used an olive jar to keep the plaster to a minimum. Then I stuck that inside a larger container and stuffed newspaper around it to center it. I added some moss around the opening and a band of decorative paper finished off the outside of this container.
I unrolled this and cut it into two pieces. I rewound them into nests and added moss and some little blue bird eggs I found at Michaels.

I'm going to make a brief apology here for some of the photos. My dining room is painted a dark brown and has brown sheers at the windows so it's really difficult to get a good picture. But you get the idea.

I found these little bird houses at a yard sale. Although they were blue they were really not the "right" blue for the table so I sprayed them a metallic bronze.

They rested nicely on two silver candlesticks. A ribbon of blue on one side and brown on the other was tied at the base of the birdhouse. A kiwi tea light picked up the green on the plates and gave the table a festive twinkle.

A few more tea lights down low and the table was set.

I will add a couple more pictures to round out the party tables.

The flowers on the left were in the center of a metal ring that was made for 4 tea lights.

I omitted the tea lights and wrapped little plastic babies in a soft blue fabric instead. They did not come with dark hair so I colored it with a felt tip pen.

The punch bowl shot preceeded the punch. The rubber duckies were linked together and were designed to paddle...in the punch. But not all goes as planned and the paddles on the mama duck did not function as intended. Small glitch.
I kept a picture frame next to the door and as the guests arrived I had them hold the frame so I could take pictures of each of them for the memory book.

No, I did not forget the food. I never forget about the food. But I had nothing to do with that department. It was all prepared by my sister-in-law and my nieces.


I won't show each delicious morsel here. Let me just say I was delighted to have the leftovers stay at my house.
I am linking to:
What an adorable theme! I love the bed springs nests!
ReplyDeleteThe nests are so rustically cute! And I'm loving the picture frame pic taking idea. LOL!! So fun!
ReplyDeleteDonna
Beautiful and fun. You are always great at the details.
ReplyDeleteWhat a great party favor. Love the bed spring nest. Lovely table too.
ReplyDelete