While the bathroom is getting it's pipes and wires and ducts and vents, I am busy giving the dining room it's new colors. Now, which would you rather hear about? If you said pipes and vents, you are out of luck. It's not that it isn't interesting. It gets more interesting (challenging) by the day. The problem is .... I don't want to write a blog post filled with frustration and cuss words. Seriously, it's not that bad...just a lot of things to stuff inside those wall spaces and sometimes it takes a long time to get ALL those things from point A to point B.

But today let's talk color.
As you know if you read the previous posts the dark brown walls and faux painted ceiling are on their way out.
 I elected to go with some perky colors this go around. These are my choices.
The ceiling is the top color. (harrisburg green HC-132) The bottom color is the wall color. (fernwood green 2145-40) The black and the white are for the woodwork. (classic gray OC-23 and french beret 1610) These are all Benjamin Moore colors.
Those of you who picked up on the paint for the woodwork may be gasping for air or applauding....depending on your belief system.
 For 35 years I have been a preservationist and protected the natural wood in this house like I would my children. At least 20 of those years I secretly wished I could paint it if only it wasn't a grave sin to do so. (A few rooms in this house were painted when I purchased the house and I even stripped one of those rooms to restore the natural wood.) However, my taste changed long before I had the courage to over throw the belief that natural woodwork was like a precious antique and could not be painted.
 It was quite the internal struggle but I finally convinced myself that the colors I wanted to use would never look right with the natural woodwork. At least I thought I was convinced. But even after I purchased the paint, I couldn't still the effects of years of brainwashing. Doubts about my decision kept surfacing. This continued right up to and, yes, after I applied that layer of white primer.
 But as I brushed on more and more of the primer, I started to relax into the change. My daughter's words became my mantra, "It's your house. Do what you want with it."
So, see what you think. Here is the before and after of the ceiling.


Before..............................After
And the walls,

 Since I planned to paint the sash black, I primed that with a non white primer I had on hand.


![]()
![]()
![]()

But today let's talk color.
As you know if you read the previous posts the dark brown walls and faux painted ceiling are on their way out.

The ceiling is the top color. (harrisburg green HC-132) The bottom color is the wall color. (fernwood green 2145-40) The black and the white are for the woodwork. (classic gray OC-23 and french beret 1610) These are all Benjamin Moore colors.
Those of you who picked up on the paint for the woodwork may be gasping for air or applauding....depending on your belief system.

So, see what you think. Here is the before and after of the ceiling.


Before..............................After
And the walls,


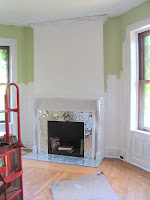
Before.......................The beginning of After
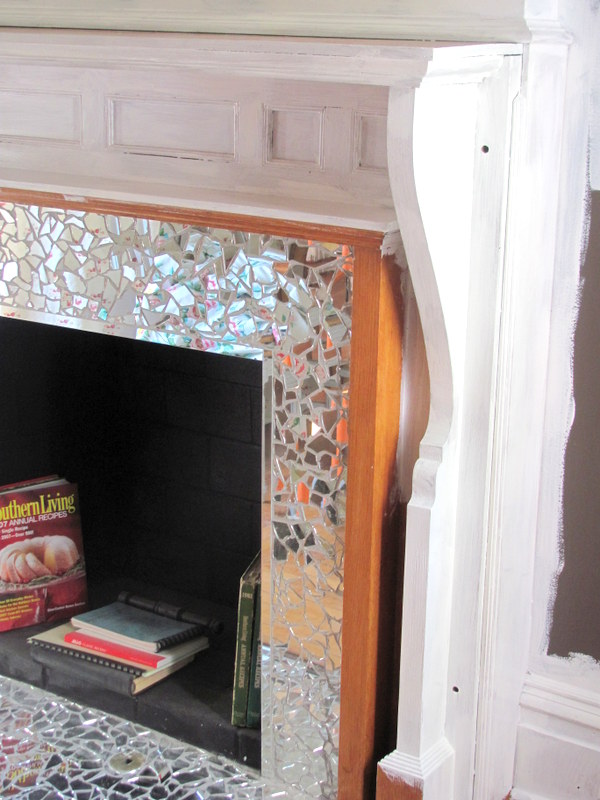
This also serves as the woodwork before and primed but not painted after shot.


These are two doors that will also get painted black.

This is one side of one door with one coat of primer. If you ever wonder why I am not posting more often, just think about this door and know that I am painting primer on 3 more sides just like this one. Then I will repeat that process with two coats of paint. Do the math. There are 15 panes on one side. Multipy that by 4 and multiply that total by 3 layers of paint and you will realize my wrists are being iced down at night and could not possibly type one sentence.

I took the hardware off the windows, cleaned it and sprayed it with a charcoal primer. I then dry brushed the beautiful detail with silver metallic.

I also took the bright brassy hardware off the doors.

It is back on the doors now in a Rust-oleum spray called Metallic Matte Nickel. I like them soooooooooo much better now.

The glass in the doors has been scraped clean of any wayward paint and can be checked off the to-do list.

The radiator is in it's spot although the pipes still have to be attached.

The final touch up is taking place today along with window washing and floor scrubbing. Next comes the window treatment, the furniture, and the accessories. (you can see the tip of the chandelier---new to this room but not to the house) All that to follow as it happens.

And for those of you who are still convinced that painting the woodwork is a sin, let me assure you I have done serious penance for my choice. NOTHING is forgiven with painted trim! The tiniest separation where pieces of wood join must be caulked. All the little flaws that don't show with natural wood are magnified when painted. And painting quarter round as it butts to a natural floor is only possisble with one cheek pressed against the floor so that you are able to eyeball a straight line. I have paid for my deviation from the law but it was worth it.
Can't wait to see it in person!
ReplyDelete