Sometimes it is really hard to decide which is the fairest of them all.
 I found this at a local charity resale shop and thought it was the fairest. Not so. The proportions were all wrong with the vanity. Opps!


 This is one I had played around with some time ago using a sticky lettering on the back. When I removed the lettering it pulled the silvering off so that is the wall paint that you see behind the word Paris.
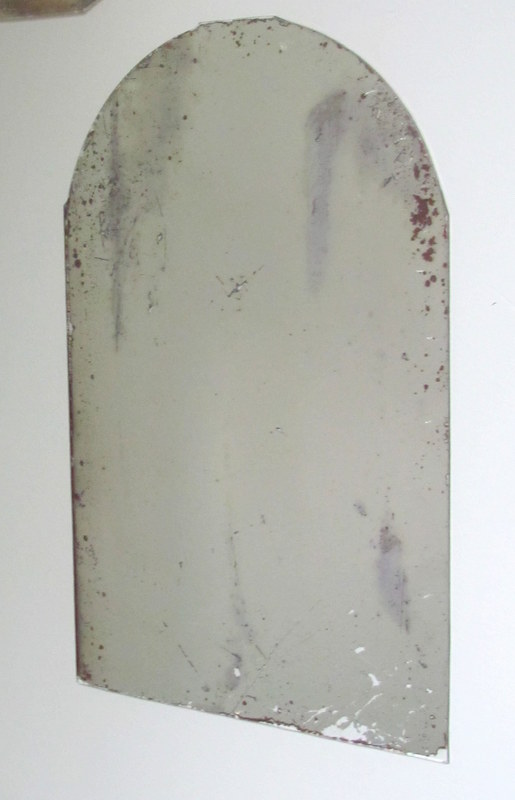
 This is a small one but nicely and naturally distressed.


 This little beauty got booted which was very sad because it is a knockout. But, even frameless it was just a bit too wide in it's most voluptuous parts. I have no doubt it will steal another spot somewhere in this redo.
 By this time we were getting very close to "mirror hanging day" and I needed something similar but slightly smaller than the one I booted. I called a friend who has reserves and she came to the rescue. A little rearranging and we were back in business.


Then I saw this at an auction and brought it home with me. Again that old dilemma about whether or not to paint the wood.

But then..the discovery that it had been painted a few times before...in pink, no less. So with that and the blessing of a neighbor who loves natural wood, I proceeded.

I base coated with the same color I had used on the vanity. (Benjamin Moore HC-108 Sandy Hook Gray)

I followed up with the same technique I used on the vanity drawers. (wax rub, paint, and light buffing/sanding, followed by waxing) The word "technique" in the previous sentence will take you to a more complete description of the process.

It turned out nicely but....I had been stock piling distressed mirrors and they were begging to become part of the action. So mirror, mirror became mirrors and more mirrors.


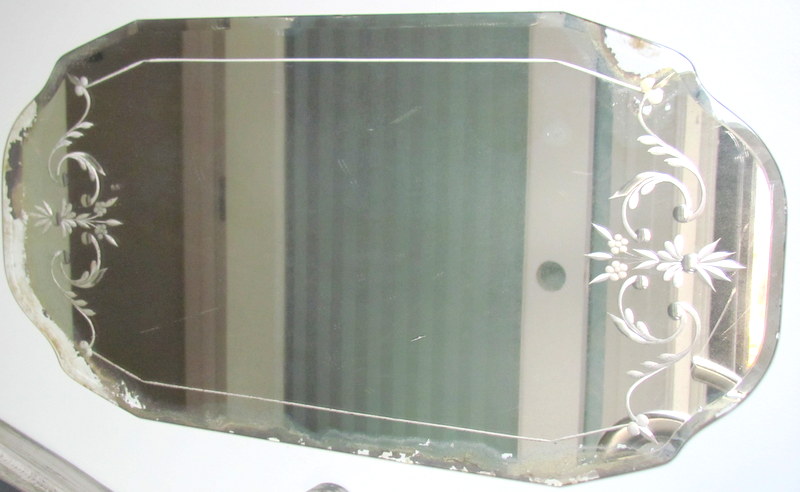
This is heavy and beveled. I like the shape on this one. I have the wonderful frame this was in and I used it as a photo prop for a baby shower. (That's a post in itself so click on the words in purple if that interests you.)
This gives you a sneak peak at the powder room door that was installed yesterday. Door handle should come today and pictures of that to follow.

It took some arranging and rearranging to settle on a configuration that was pleasing and that would fit the space I had available.

Then came the true test-- the wall layout. It is hard to see at this angle but top far right was just too close to red center. Center top and center bottom ended up being switched when other things moved.


My brother and I discussed a variety of ways to attach the mirrors and finally settled on mirror mastic. The drawback of this adhesive is that it takes 24 hours to set up completely.

So Dan devised a method to keep the heavier ones from sliding down the wall overnight, and we added lots of tape for extra security.

This method required us to let some dry before we attempted the rest.

It was a little tricky and we were a bit nervous. We used some strategy and a good dose of eyeballing it to get things lined up. The nice thing about the mirror mastic is you have a little time to shift one way or the other.
Mirror, mirrors on the wall,
I know you are excited about all the detail parts. This is the fun part!
ReplyDelete