This is without a doubt the most expensive piece of furniture I have in the house. It is an entertainment center by Baker. I bought it many years ago at a Baker outlet store called Baker's Odds and Ends...now closed. It sold for about 1/2 the price it would normally sell for. I guess because it had a few minor defects and, I always thought, because it was large and it was RED. At that time not something most people were looking for.


.JPG)


I liked it then and still do. However, it is not a piece you move from room to room, and the room it is in is now my bedroom. Even though it is three stacked pieces, each piece is extremely heavy on it's own.

This goes back several years when this was the "Tuscan TV Room." Now the faux finishes are gone and this is my bedroom. I am finally getting around to decorating this room and the faded red is not going to dictate my color scheme.

The cabinet was moderately distressed when I bought it. There is a faint yellow that shows thru on the high spots and there are lots of indentations and worm holes.

I knew that whenever I got to this room, I would paint this piece. I didn't think much more about it until a few days ago when the mood struck and I decided that this was the day. Rather than pick a color and make the trip to buy more paint when I have several shelves of paint already, I decided to use something I had on hand.

I primed it first. It was rather a delight to see the red color slowly disappear.

Slowly being the operative word here. It takes a little over two hours to cover the entire piece. Mind you the doors are double hinged and fold back on the sides so they are open a good deal of the time. I did prime the back sides of the doors but I didn't have help to move the TV so that part will have to happen later. A clean slate! Now what?

OMG! I heard that. Has she lost her mind? I know. I wondered about my sanity too. Bubblegum pink, really??

It actually dries to a more magenta or purple color.

Yes, this is the same color as the wet/dry pic. Go figure. This was taken in morning sun and it brings out the pink. Sorry I can't give you name on this color. I know you really want to use it but the sticker on the can has faded beyond discernment. It is Behr paint and the colorants are Thalo Blue, White, and Magenta. Only kidding, I know you don't care.

I decided a glaze might be the best approach to bringing some sense to this job. I grabbed a can of Ralph Lauren paint I had on the shelf. Again, no name on the sticker but colorants were Thalo Green, Red Oxide, and Magenta. It looked really dark as you can see by the dots on the lid. However, not so on top of the base color.

I decided to "fix it" with a little violet colorant. I added some glaze and tried again.

Hmmmmmmmm? I'm working towards plum and in the right light I am getting there.

I liked the way it played up the distressing. But, do I like it well enough to keep going?

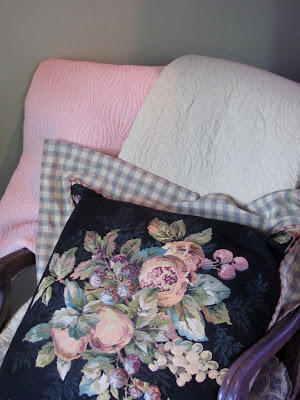
I thought perhaps I needed to see a little more of it before I made that decision so I glazed the feet and base. You are probably wondering what else is going to happen in this room. Well, so far I have two pillows for the bed.

Yes, it is a stretch.

Here are two matelasse quilts I plan to use on the bed. Other than that, I have nothing else in mind.

What is it going to take to tone this down and salvage it?
.JPG)
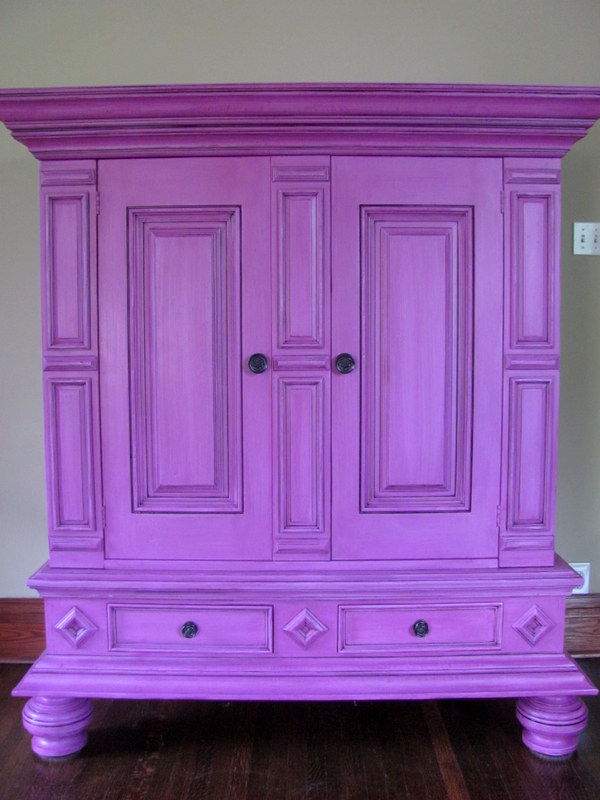
First it is going to take me finishing the glazing. Almost there...just the left door and the very top and that part will be complete.

Completely glazed, top and all. Now what? I have been thinking all along I would wax it with a dark wax but now I'm not so sure. Although a camera does not really capture it, the variations in the glazing are really what makes it. I don't want to overwhelm the piece by bringing out the details too much. Nor do I want to give it the worn and aged look. I'm going for a little fresher look.

I decided that putting the knobs back on might help to clarify what it needs.

The knobs were an oil rubbed bronze. I sprayed them California black bronze.
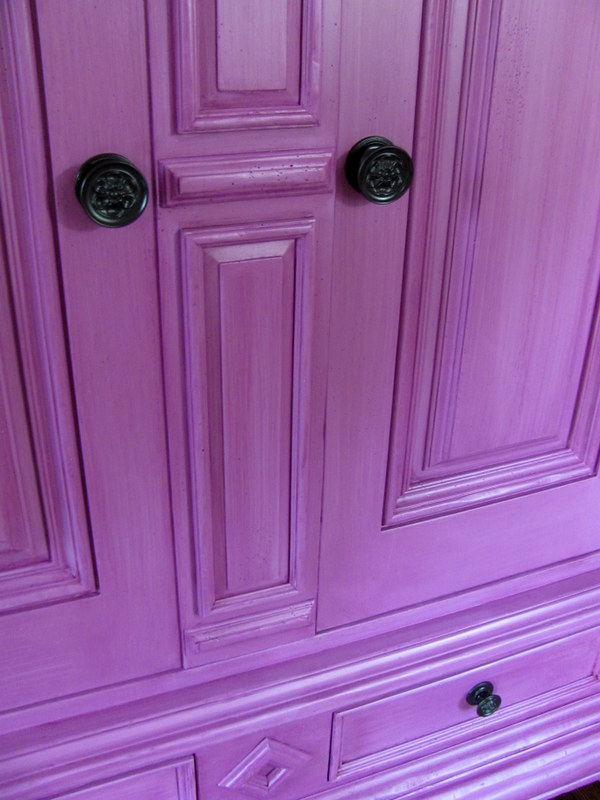
The shift in color is a bit of an update and it also relates to the black in the pillows. I think living with this, as is, for a few days is best. So this post will go on hold until I decide what, if anything, it needs.

Several days later: (A very blurry and only shot I have of this step.)
Yes, I am going with a black glaze in the crevices.

I brushed the glaze on and wiped most of it off immediately with a wet cloth. Right side with glaze--left side without. Not a huge difference but it did what I was hoping it would...just define the detail.

I forgot to mention that before I applied this glaze I put a clear coat on the entire piece to keep the black glaze from staining the parts that I wanted to wipe off. It was a product I had from my days of faux finishing and purchased through the faux finish instructor.
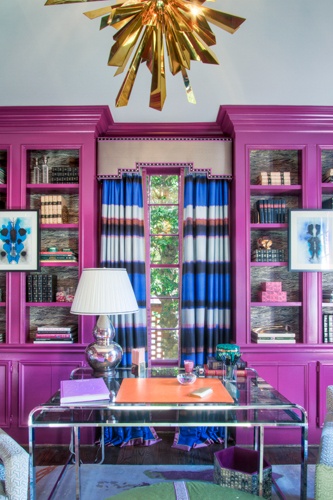
Maybe still too pink, or purple, for some. I know it doesn't work for my sister-in-law. However, I found this next picture on pinterest so...

(designed by Lindsey Coral Harper)
the color must be working for someone. Now I just have to make it work for me.
I am linking to: Miss Mustard Seed
Comments
Post a Comment