There was a time when I browsed the fabric stores because I loved looking at the gorgeous colors, patterns, and textures. Turns out I did more than look and, the result is, a lot of yardage went from their shelves to my shelves. In recent years I have gotten my color and pattern fix from wrapping paper.
 Home Goods Happy! That's right.
 I have kid's paper left from previous years, but each year they come out with something cuter.
 I tell myself, "it's cheaper than fabric," as I put another roll in my cart.
 And this one is great for kids but works well for adults too. Not that I don't have lots of grown-up paper in my stash from previous years. But...well, I don't have any really good excuses, and I suppose I really don't need to make excuses.
 For this navy, red, and white paper, I used all red decorative elements. A couple red Christmas ornaments, a spray of red berries, some foil twist wire and...
 a few little beads cut from the string and glued to one reindeer's antlers. Done!
 I cut out one moose from this paper, mounted him on a piece of colored paper, and added the movable eyes.

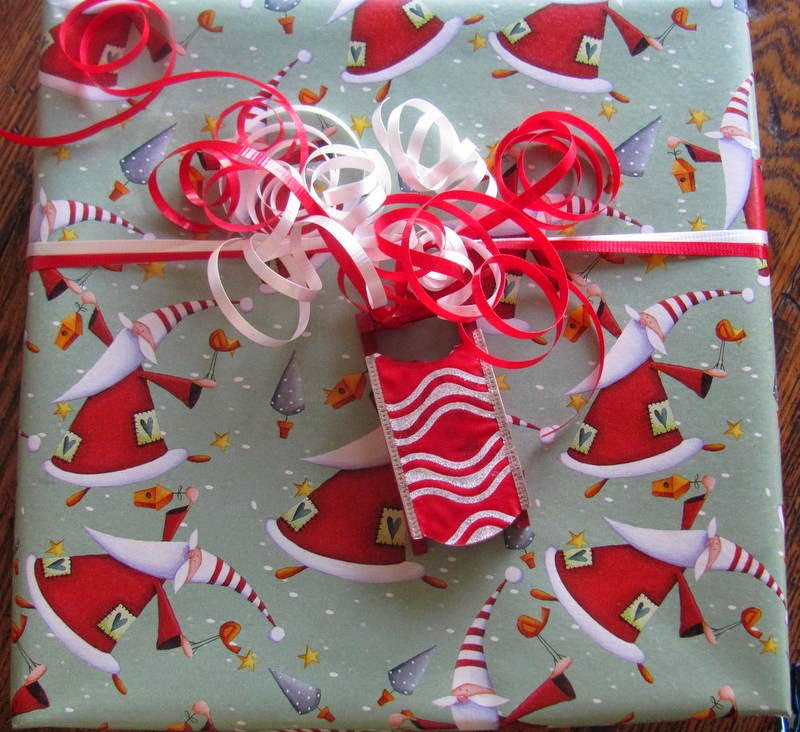
 A little curly ribbon in red and black was all this paper needed. How can you not be happy looking at this snowman smile?
 I picked up two little sleds somewhere. Probably a yard sale in the heat of summer. My plan was to paint over the decals and then do something with my grandson's names on them. But, by the time I dug these out, I was in full blown wrap and tape mode.
 This one had a decal of a young girl from the early 1900's in an oval. I selected a santa from some sticky back gift tags, cut it big enough to cover the decal and stuck it on the sled.
 I used this with some paper and ribbon left over from last Christmas.
 I glued some of the same ribbon onto the second sled.
 And that became the ornament with this paper which is also a leftover from last year.
I will take these packages to my daughter's house for her boys. That meant I needed to wrap more to put under my tree.
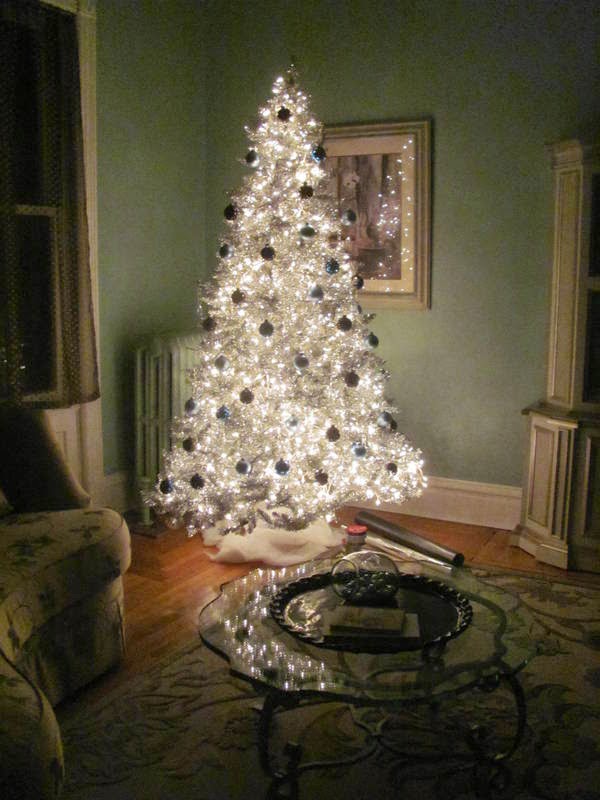
If you remember from this post, the theme this year is black with sapphire on silver. There are a couple rolls of ribbon and paper on the floor next to the tree. I bought these to add a little variety to some paper I had on hand.
 This package holds the blue bowls you saw in a previous post.
 Don't worry, I'm not going to describe what is in each package. That would be pretty silly since some of them are just empty boxes. I am just nurturing my addiction for pretty paper and ribbon, and the rush from putting it all together.
 A couple of these boxes contain gifts for the "neediest cases" which is a charity event our neighborhood contributes to each year.
 For a few weeks they will remain under my tree.


 Ok, I am wrapping it up with this last photo. I have another little project in the works and I need to get on with it.
I tied two bells to the ends of magenta foil twist garland and deemed it complete. The paper is barely noticed by a 2 1/2 yr. old in the frenzy to rip the package apart, so this is all really for me.
I will take these packages to my daughter's house for her boys. That meant I needed to wrap more to put under my tree.
If you remember from this post, the theme this year is black with sapphire on silver. There are a couple rolls of ribbon and paper on the floor next to the tree. I bought these to add a little variety to some paper I had on hand.
I reached this point and then couldn't stop myself. Next thing I knew, I was back at Hobby Lobby looking for more ribbon.
A few more packages were added.
I decided to add the curly glitter spirals to the top of the tree.
Then I found the teal colored branches in my seasonal closet. I added those to the wreath on the front door.
I think I'm getting close to being finished.
Just a few more pictures in an attempt to catch the right light.
Comments
Post a Comment