
Overhead lights are ON


When this kitchen project started there was one light over the island.

Because I now wanted two lights over the island, some changes needed to be made.

It got this far and then there was that waiting period for various other things to fall into place.


Once the old opening was patched and the ceiling was repainted, things moved along.


The fixtures  I planned to use were purchased at the Habitat restore.  ($26 each)

I knew the gold would have to go but what happened to the rest was more of a  figure it out as you go process.


 These went from shiny brass to...


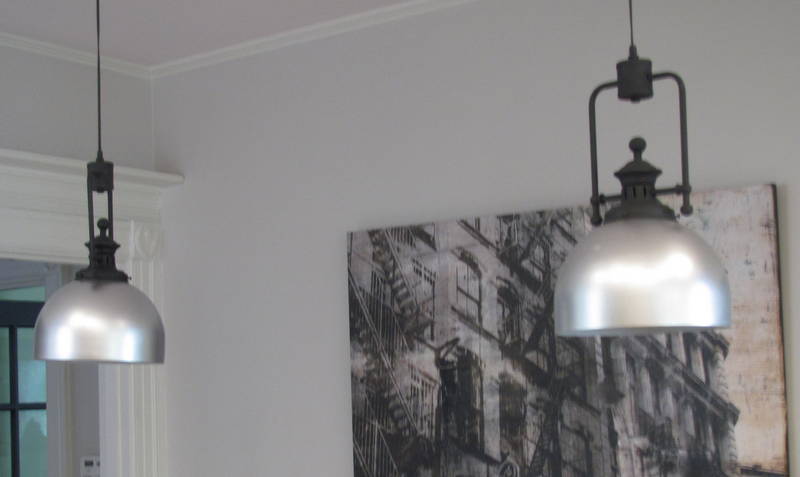
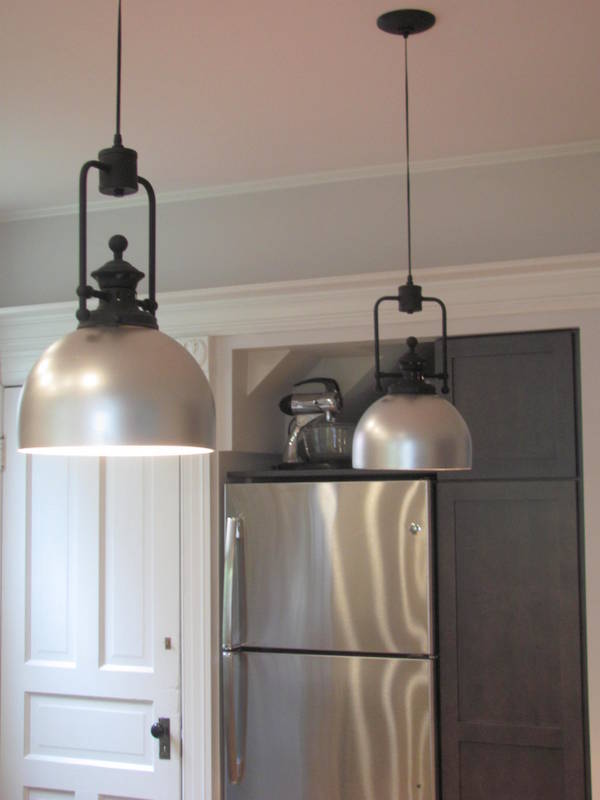
black.  Then I decided to have them rewired using black electrical wiring and the rings were removed at the very top.  I decided to eliminate the chains and hang them from the wire.

The globes went from white to aluminum.  This took three coats to completely cover so the light would not shine through in spots.

I resprayed the black parts because I preferred a more matte sheen.

Not great quality on this photo.  My setting on the camera had moved and I didn't realize it.

I know it would be nice to see them with the island but we're not quite there yet.


And included in the lighting redo, I painted the black baffles of the recessed lights a metallic silver.

These little springs are intended to hold the baffles in place.  They work if you have an extreme amount of time and patience required to get them in place.

Over time my light bulbs somehow managed to become a variety of colors and types giving off a rather checkerboard glow.  I finally bought all new LED bulbs so they look the same except for that middle one in the back row that is set higher than the rest.  I haven't had the stamina to remove those darn springs to reset that one.  Some day when I'm feeling very rested and calm I'll take that on.

In the meantime, it is not noticeable with the lights off.

Comments

Popular posts from this blog

On The Upswing

After the last post, it seemed a good idea to do a follow up post to report that things are moving along nicely. This shot was taken before the remodel started.  The door at the end of the hallway leads into the bath now being remodeled. This is where the changes started.  The trim is off the doorway and the door opening will be enlarged to the width of the hallway. This shot taken of that same area now looks like this.  By closing the entrance from the hallway, that bathroom will now be the master bath by keeping the entrance from the bedroom only. This is how it looks from the bathroom side.  the door on the left leads to the hallway and the one on the right into the bedroom. Now it looks like this.  Part of the hallway has become part of the bathroom.  This is where the vanity will be installed.  The partial doorway you see on the right leads to the bedroom. Turning 180 degrees and looking across the room to the opposite corner, you see the window and the en

Out of No Where

Isn't it uncanny how a project can sneak into an already crowded schedule? Recently a friend invited me to do a walk through on a two-family he was planning to buy.  A couple pieces of furniture had been left behind and they were dumpster material to him.  Did I go with him thinking there was something there for me?   NO. Was I looking for something in particular? NO.  Did the thought of finding a new project ever cross my mind? NO!  But, see for yourself.  Could you have passed this up?  It was sturdy (translates to a little heavy). There was nothing wrong with it.  It even had all the shelves and the pins that hold them in place.  And without the shelves it was not quite as heavy.  (Try telling me that as my friend and I are hauling it down a flight of stairs.)  More shelving on the side made it even more practical.  I'm sure they could be used for something besides VHS tapes. Here it is in my studio where I could do a complete assessment.  Looks like a good cleaning

Small Storage Containers RECYCLED

 With the way grocery products have skyrocketed this past year, it has somehow made the containers they come in seem more valuable. To be transparent, I have always saved glass jars from jam, pickles, and spaghetti sauce.=) You know, small, medium and large. I also saved yogurt cups, sour cream containers, etc. When I was painting furniture and mixing colors, the small containers came in handy. This past summer I got a good laugh when I found a stack of yogurt containers in the back of a cabinet in my studio...at least 60! Needless to say those made it into the trash. More recently I have collected a fair amount of plastic containers with lids that are similar to the food saving containers you buy for that purpose. These are fairly large, about 5x7 inches and approximately 3" deep. They are great for leftovers but also good for storing a multitude of other smallish items. The bottoms are see through which makes them perfect for organizing hobby/craft and workshop items. But once a