Exactly one week before Christmas I had an idea for something I wanted to make for my grandsons. Nothing like a rapidly approaching deadline to get the creative wheels turning.
 It started when my youngest g'son (3 1/2) mentioned he had asked Santa for a nutcracker. Go figure?

Hats were the first thing on the agenda. No time to order those on line, but then I remembered...

I had some New Year's party hats in my storage closet from several years ago. (There are some things I don't get rid of on the off chance they might come in handy some day.....no, I don't have balls of salvaged twine in my basement, but I do have my share of plastic bags.) For those who don't understand the twine reference, try asking someone who is seventy or older. They can probably explain it.
 Spray paint took away the theme and I had a neutral ground.
 With a few pieces of trim, an upside down ornament, and a gold medallion I had some passable nutcracker hats.
The boys already had jogging pants that would work . I just needed long sleeve shirts that would coordinate with the pants. By a stroke of luck, the first store I tried had what I needed on clearance. The force was with me.
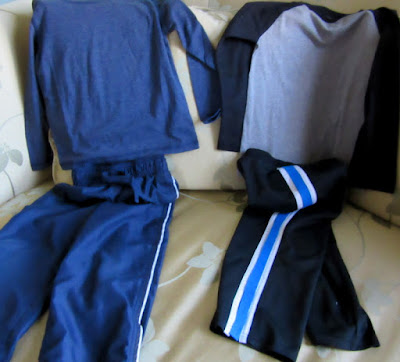 That bright blue stripe is a piece of felt I attached to the black pair before I remembered I was going to need some before photos.
 I used a wide striped ribbon on the blue pants. Any stitching on regular clothing was done with VERY long stitches so it would be easy to remove when the novelty of the costume wore off.
I made a stop at Party City thinking I would find some inexpensive rubber or plastic swords. They did have a wide assortment, but the inexpensive ones were more like pirate swords and I knew my daughter would not appreciate the toy weapon.
 I decided to use a yardstick for one and a cardboard wrapping paper tube for the other one.
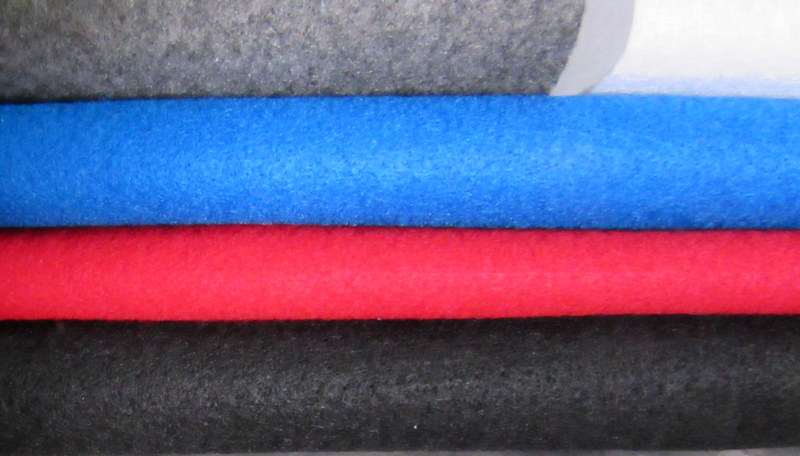
 JoAnn's had felt in bright colors on sale. Yay! I have a pretty good stash of trim so I planned to make do with what I had. It was too early in the process to even know what I would need and if I got in a jam, I still had a few days to hit the fabric store again.
 From there it was a 'figure-it-out-as-you-go' process. A little machine sewing, a little hand stitching and lots of hot glue.
 I made these cuffs for one of the shirts.
 The other one got a gray band with some white and gold trim.
 This is the yardstick covered in silver wrapping paper with black rick rack glued along the 'sharp' edge. The handle is a short piece of cardboard tubing. I covered it in gift wrap and added the black electrical tape on the ends.
 The younger one gets the bejeweled scepter.
 The white cap is the roll from a tape dispenser. I needed something substantial to hold the wooden furniture leg. It's all about using what you have on hand.
 The tops were loose fitting and open on the sides. A belt cinched them into place at the waist.
 In theory the belt should have done the trick, but on squirmy little boys connecting it under the arms would have been helpful.
 Belts, gloves and mustaches completed the outfits.
 There was a very short lesson in marching but the boys were quick to get that righ

Getting pictures was a little tough. It's hard for a boy not to swing or wave a sword. Then there hats that tipped and mustaches that dipped. All in all they did very well and what we didn't capture in pictures, we will hold in our memories.
 Various family members took pictures with a variety of cameras and phones. Each has it's own quirks when trying to forward and copy. Enlarging the above photo ruins the image. Granted I'm not the best at problem solving when it comes to technical aspects so this one remains this size.


I checked Google Images to get some ideas and confirm this was something I was willing to take on with only seven days until Christmas. What was there to lose? So, yes, I committed.
Hats were the first thing on the agenda. No time to order those on line, but then I remembered...

I had some New Year's party hats in my storage closet from several years ago. (There are some things I don't get rid of on the off chance they might come in handy some day.....no, I don't have balls of salvaged twine in my basement, but I do have my share of plastic bags.) For those who don't understand the twine reference, try asking someone who is seventy or older. They can probably explain it.


The boys already had jogging pants that would work . I just needed long sleeve shirts that would coordinate with the pants. By a stroke of luck, the first store I tried had what I needed on clearance. The force was with me.


I made a stop at Party City thinking I would find some inexpensive rubber or plastic swords. They did have a wide assortment, but the inexpensive ones were more like pirate swords and I knew my daughter would not appreciate the toy weapon.


Comments
Post a Comment